How to Stretch Watercolour Paper
By Bob Davies
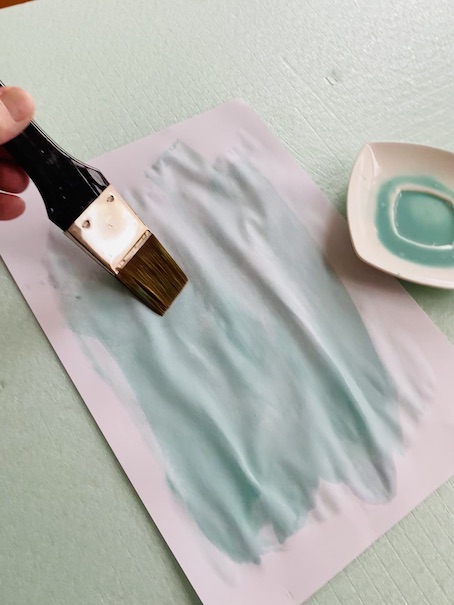
If you apply watercolour paint (or water) to a dry sheet of paper, it will expand where it's wet and you end up with paper that is warped and buckled, instead of nice and flat.
It's impossible to paint on printer or copier paper for this reason - look at the photo below to see what happened the instant I applied the watery paint:
Watercolour paper is generally much thicker and more resilient but it still expands when wet. If you're doing a full-blown watercolour painting - especially one that you hope to frame - then you definitely want to keep your paper as flat as possible.
If you're just doing watercolour sketches in your sketchbook, then it's probably easier to just embrace the small amount of buckling within the pages.
If you do want perfectly flat watercolour paper, you'll need to stretch anything lighter/thinner than 200bs/425gsm in weight. If it's heavier/thicker than that, you may get away without pre-stretching.
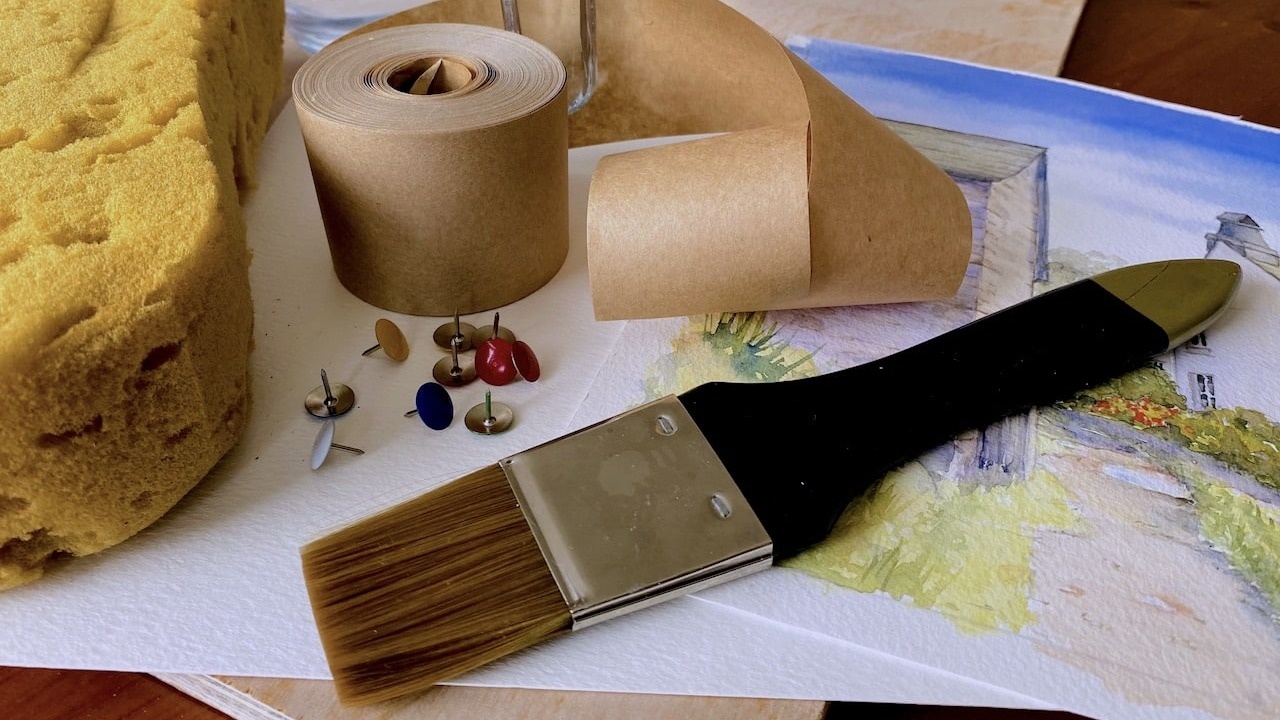
What You'll Need
The items needed to stretch a piece of paper aren't expensive and should be found around most households. The gummed tape is the exception - but you'll find it in arts and crafts shops or good old Amazon:
- A wooden board about 1/2 inch (1cm) thick and at least an inch or two larger all round than your paper
- A bowl or shallow tray a little larger than the sheet of paper. If you haven't got that available, you can always use the bath or a sink. I've used a large plastic box I happened to have around
- Clean sponge or brush
- Water
- Old clean towel
- Brown gummed paper tape
- Drawing pins (optional)
Don't be tempted to substitute sellotape, masking or insulation tape etc. for the gummed paper tape. It simply won't stick to the damp watercolour paper.
Method
Some people have slightly different methods to stretch paper (i.e. the length of time or the manner in which they wet it and dry it) but I find this system works for me.
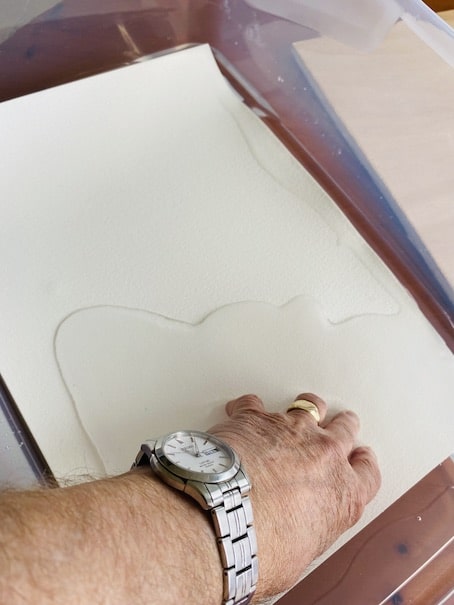
1. Put about 0.5cm - 1cm of water into the bowl and place your sheet into it so it's completely submerged. Leave it in there for no more than about three or four minutes otherwise the gelatin in the paper may dissolve and create problems when you come to add paint.
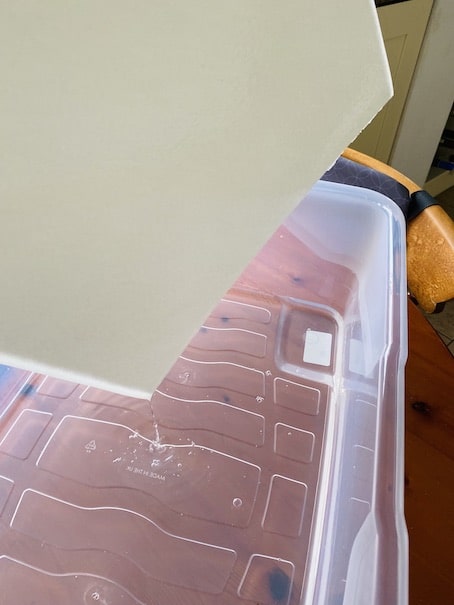
2. Lift the paper out and let the excess water on it run back into the bowl. Try not to touch it with your fingers - just hold it by the edge.
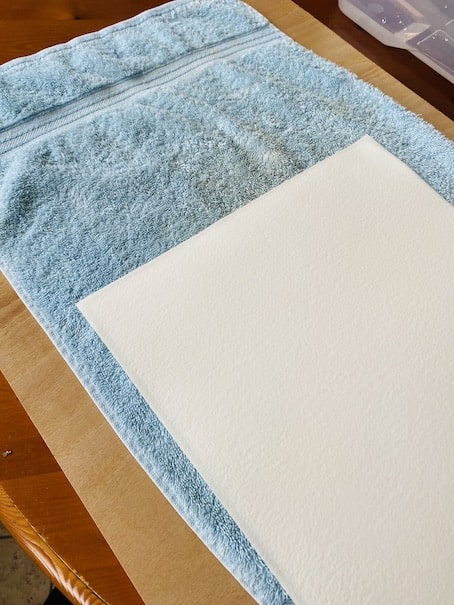
3. Lay the towel flat on your board and place the wet paper gently on it. Then fold the towel over the top of it (or use a second one if it's not big enough) and gently pat it to damp dry.
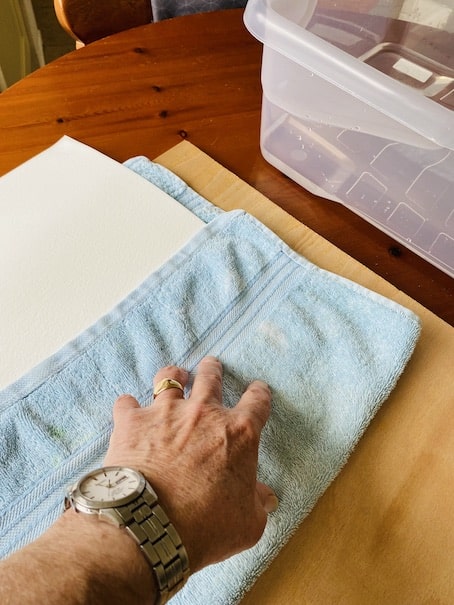
4.Lift the paper from the towel and place it gently on your board.
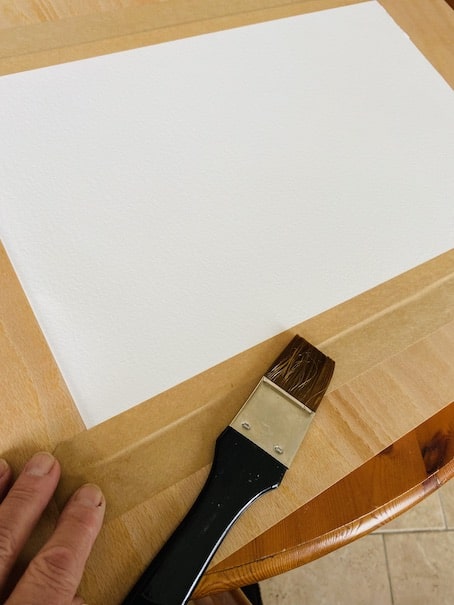
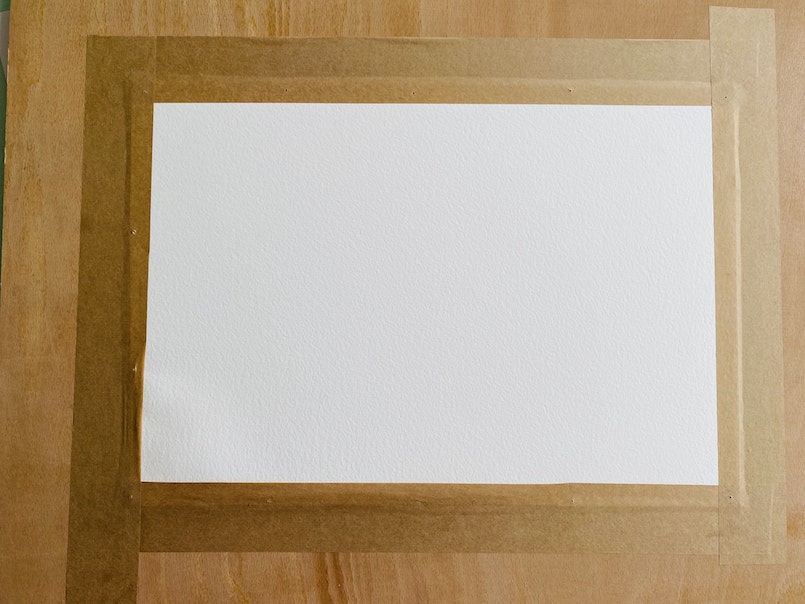
5. Cut or tear four pieces of gummed tape to go around the edges of the paper.
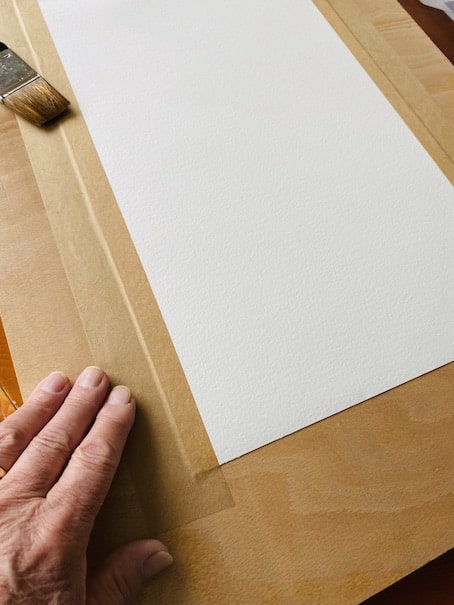
6. With the sponge or brush, dampen the pieces of tape and stick them to the board with about 1/2 inch (1cm) over the edges of the paper. Smooth them down flat. Don't over-wet the gummed tape or it will lose its stickiness.
6. Sometimes, as the paper shrinks as it dries it can pull away from the gummed paper or board slightly. To prevent this, put a series of drawing pins about 3 inches (6cm) apart through the gummed paper where it overlaps the watercolour paper and into the board.
There's no need to press them all the way in - you want to get them out without breaking your fingernails when the paper's dry!

7. Leave the paper to dry naturally for a few hours - preferably overnight, with the board laid flat so it dries evenly.
8. When the paper is dry, remove the pins - they'll get in the way when you draw and paint otherwise!
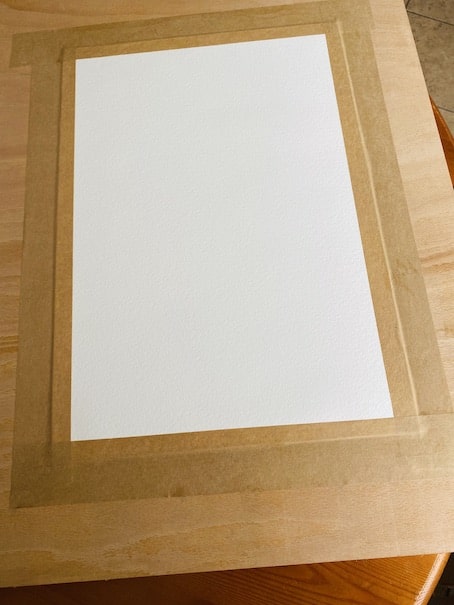
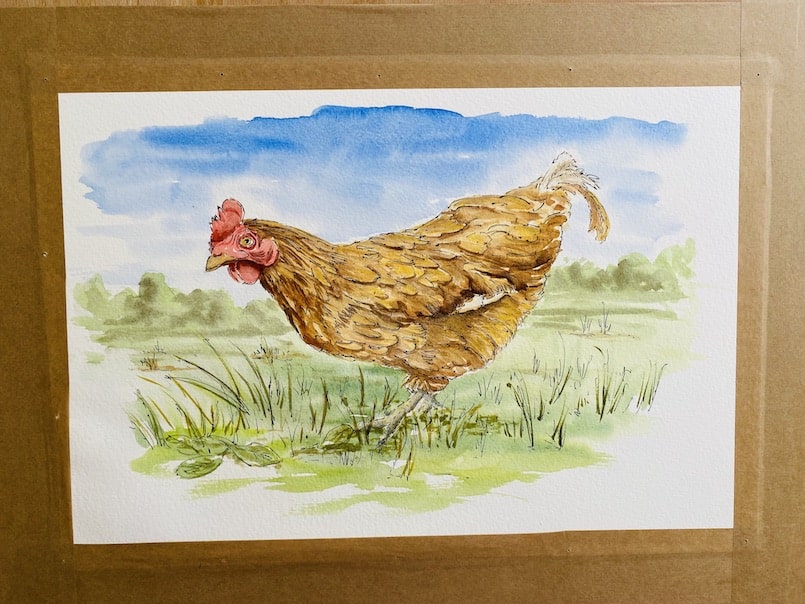
You now have a lovely flat surface to paint on - which will stay pretty flat. If you flood it with lots of watery paint there may be some slight cockling but nothing like as severe as before it was stretched and it will lay flat again once it's dry.
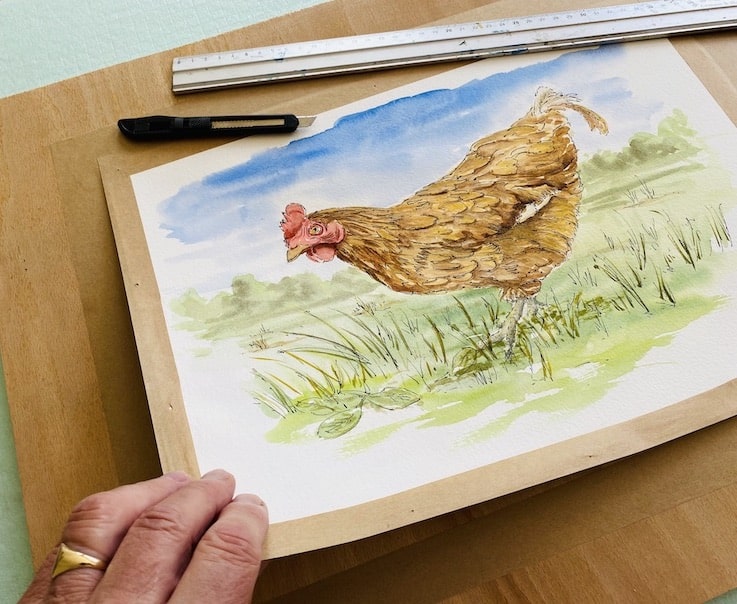
9. Having created your minor masterpiece you can then then slice around the picture, cutting through the brown gummed paper with a craft knife where it is stuck to the paper.
Carefully remove the picture then cut accurately around the edge to remove the remaining gummed tape.
10. The residue of gummed tape left on your board can be removed by wetting it and if necessary, removing it carefully with a paint scraper or similar tool.
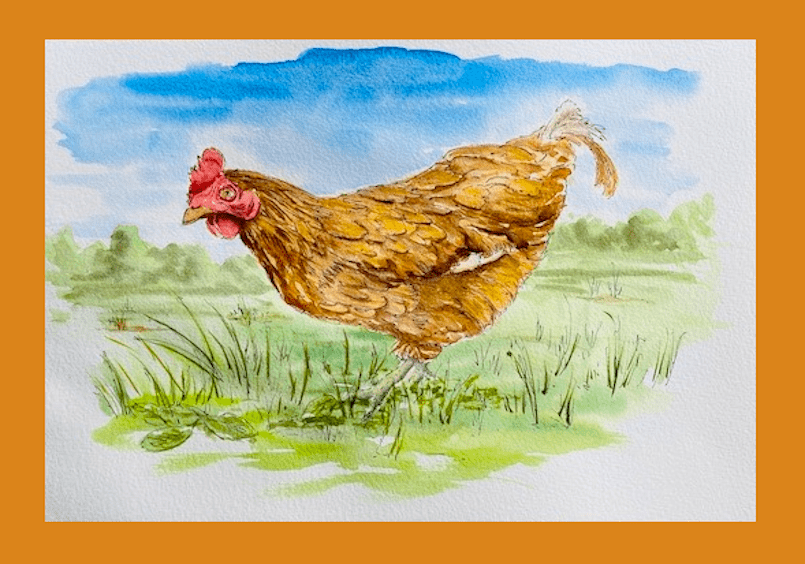
And there you have it - your next watercolour or line and wash painting, nice and flat and ready for framing!
Commercial Paper Stretchers - Are They Worth It?
If the idea of stretching paper this way doesn't appeal to you, there are commercial paper stretchers available which all work on a similar principle of the four edges of the paper being firmly gripped.
Once the painting is complete, the bonds can be released and your picture trimmed to the desired size.
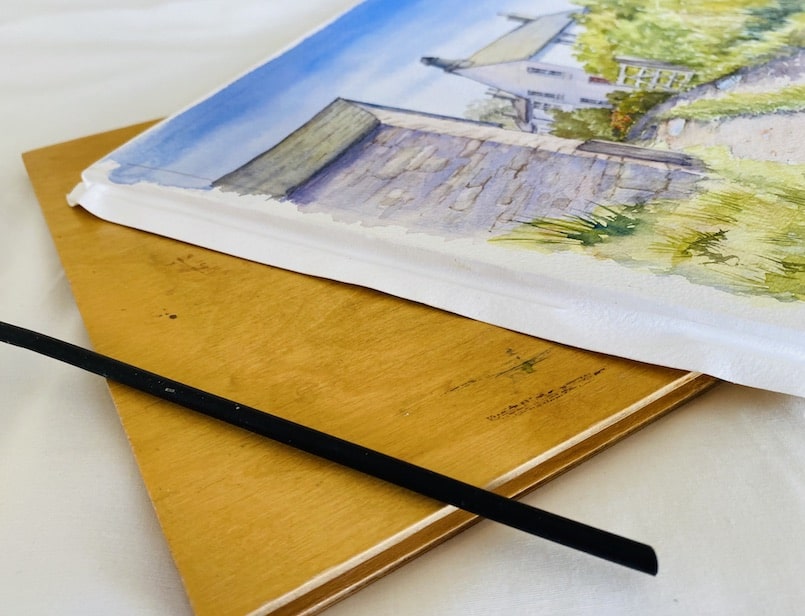
Below, you can see one that I use, called the Ken Bromley Paper Stretcher. In the picture is the board showing the deep grooves around the edges, with one of the four rubber rods that trap the watercolour paper in the grooves, after it's been wet.
The picture has been released from the board but is yet to have the clamped edges trimmed:
These paper stretchers aren't particularly cheap, but they do provide an effective drawing or painting board upon which to secure your paper, so if you intend to do many watercolours or much line and wash work, they may appeal for their convenience alone.
Speeding Up The Process
Apart from the convenience factor, you can use a hairdryer immediately to considerably speed up the process with commercial paper stretchers and be painting within about 15 minutes, if time is of the essence.
You can also use a hair dryer on paper stretched as I've described, but from my experience, the watercolour paper dries too quickly and often pulls away from the gummed tape and the board, even with pins attached.
So I tend to leave it overnight to dry naturally.
I personally think a commercial paper stretcher is worth the investment if you paint lots of watercolours (i.e. weekly). Check your local or online art supply stores, where you'll find plenty to choose from.
Never Miss a Blog Post!
I'll send you a short email whenever I publish a new blog post (which is most weeks)...
I will never send you spam or pass tyour email address to any third party